Pair your Devices
Pairing makes two of your Devices trust each other. It finishes only when you've accepted on both.
Turn on networking on both Devices
Do this on each computer:
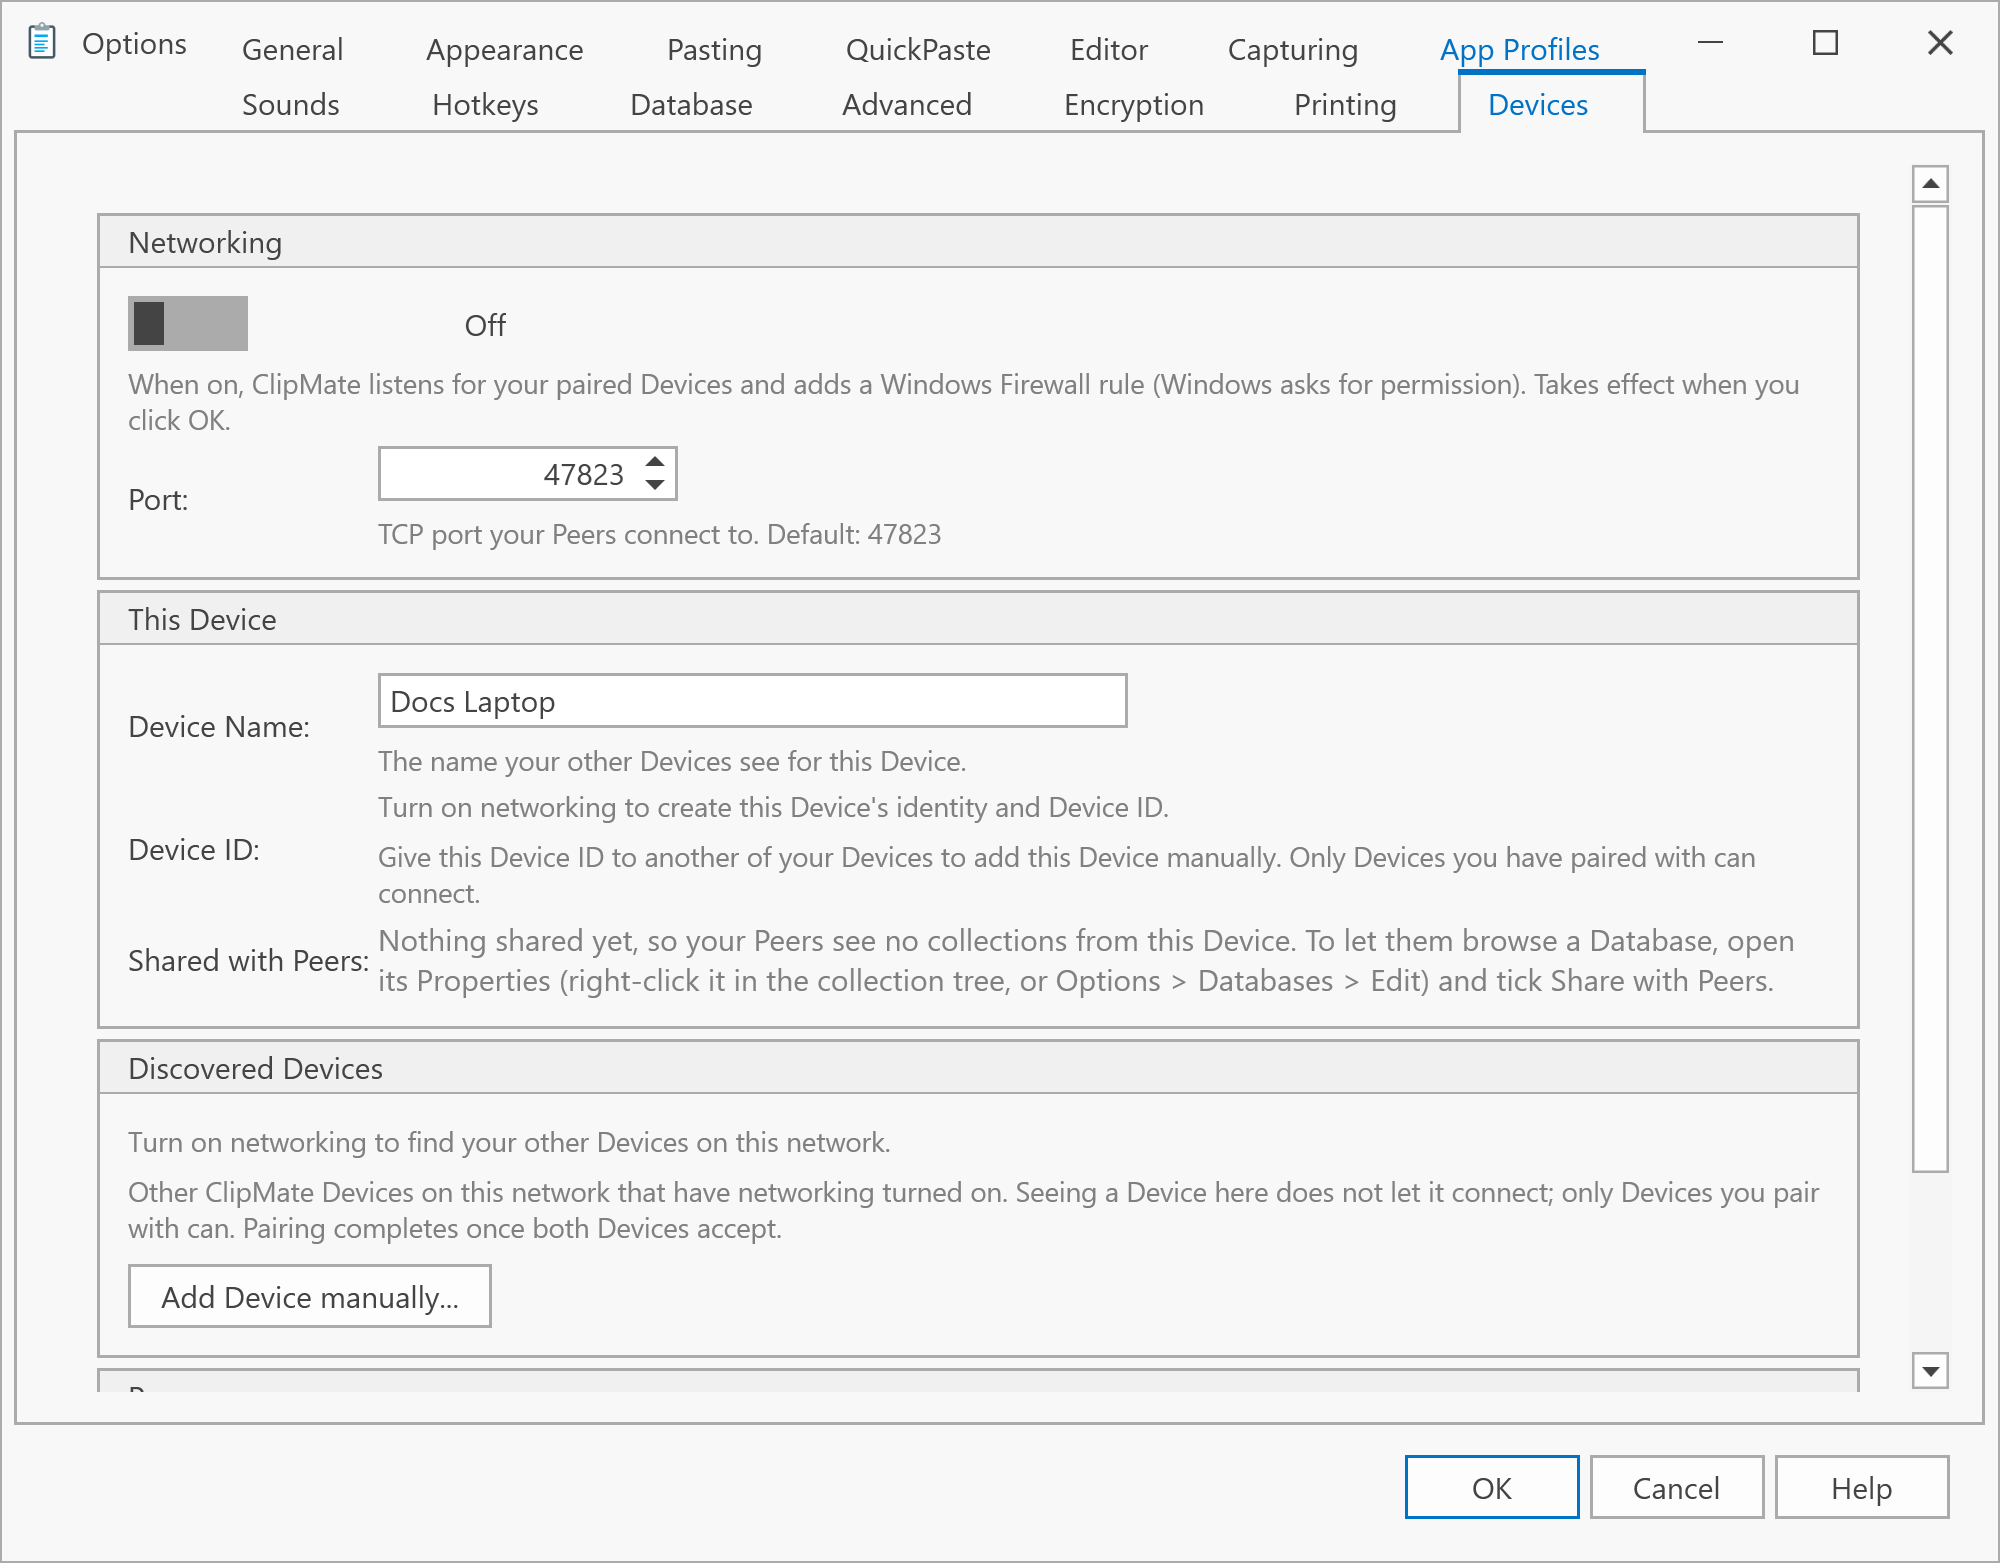
- Open Tools > Options... and choose the Devices tab.
- Under Networking, turn the switch on.
- Under Device Name, give the Device a name you'll recognize, such as Laptop.
- Click OK. Windows asks for permission to add a firewall rule for ClipMate. Accept, so your other Devices can reach this one.
Pair them
-
On one Device, reopen the Devices tab. Within about 30 seconds, the other Device appears under Discovered Devices.
-
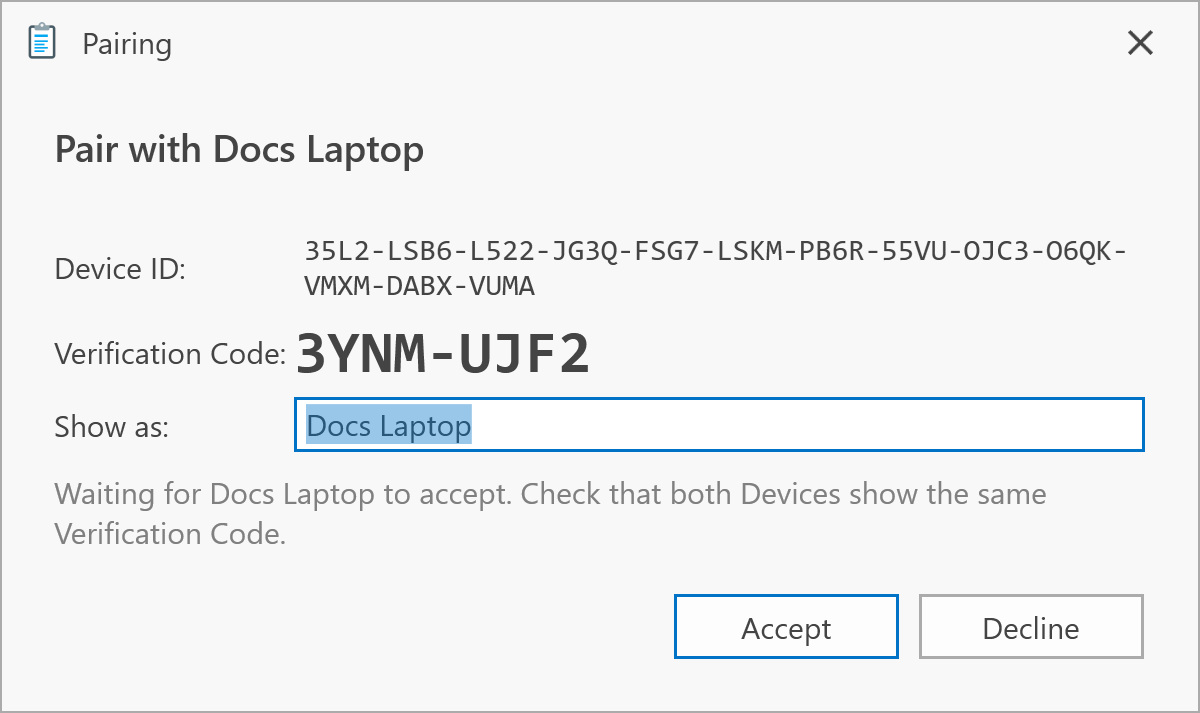
Click Pair... next to it. A Pairing window opens with a Verification Code.
-
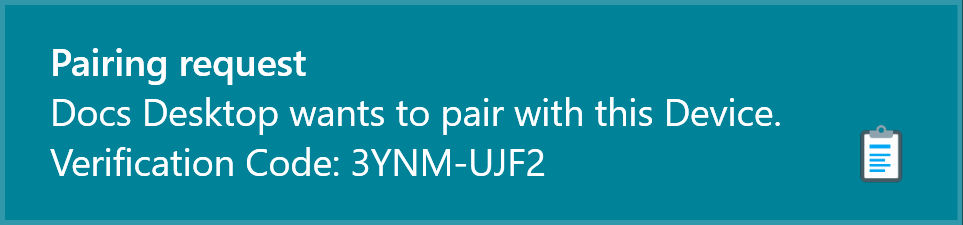
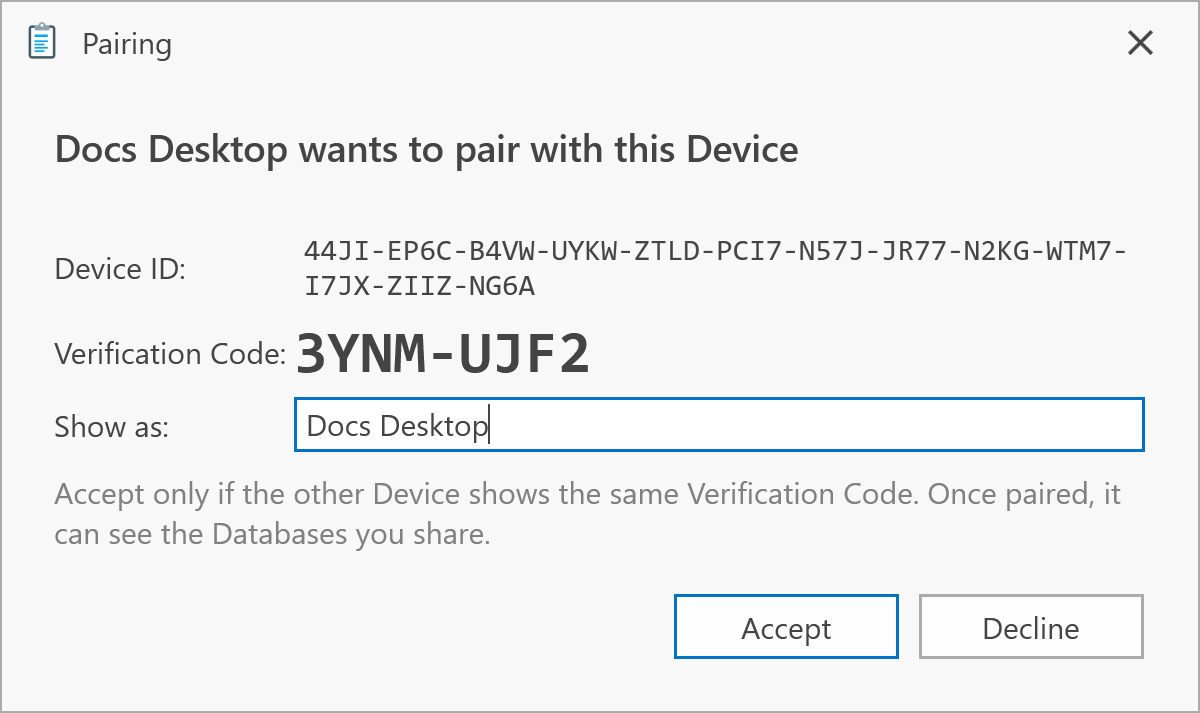
On the other Device, a notification shows the same request and code. Click it, or wait a moment, and a Pairing window opens.
-
Check that both Devices show the same Verification Code. If they don't, click Decline.
-
Click Accept on both Devices.
Each Device now lists the other under Peers, with its status. To go on, see Share and search databases.
If the other Device doesn't appear
- Check that the Networking switch is on for both Devices.
- Make sure both are on the same network, and that Windows treats it as Private. See Network and firewall.
- For a Device on another network, use Add Device manually.... See Devices Options.
Unpair a Device
On the Devices tab, click Unpair next to the Peer and confirm. It takes effect on both Devices.