📄 Templates Button
The Templates button activates ClipMate's template feature, which allows you to paste clips along with metadata like date/time, source URL, and more.
Usage
- Add the Template button to your toolbar
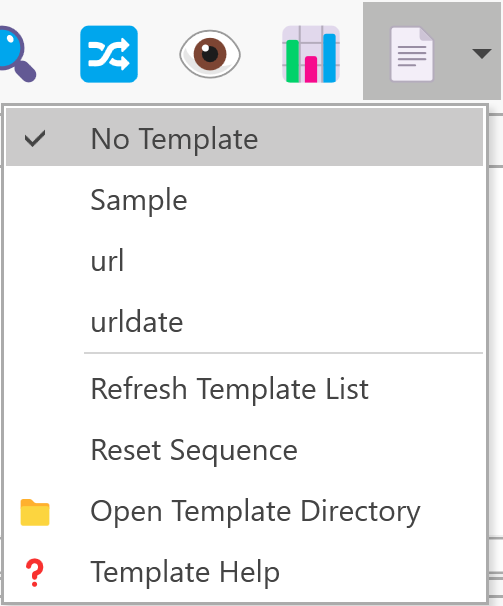
- Click the drop-down arrow to see available templates
- Select a template to activate it
- Now when you select or paste a clip, it's merged with the template
The template remains active until you select another template, select "None," or quit ClipMate.
How Templates Work
Templates are text files containing replaceable tags. When you paste a clip with a template active, the tags are replaced with actual values from the clip:
| Tag | Replaced With |
|---|---|
#CLIP# | The clip content |
#DATE# | Date of capture |
#TIME# | Time of capture |
#CREATOR# | Source application |
#TITLE# | Clip title |
#URL# | Source URL (if available) |
#CURRENTDATE# | Current date |
#CURRENTTIME# | Current time |
#SEQUENCE# | Sequence number (1, 2, 3...) |
Template Menu Options
The template menu includes:
- List of available templates
- None - Disable templates
- Reset Sequence - Reset the sequence counter to 1
- Open Directory - Open the templates folder
Creating Custom Templates
Templates are stored as text files in the Templates folder under the ClipMate program directory.
- Select Open Directory from the template menu
- Create a new
.txtfile - Add your template text with tags
- Save the file
- Restart ClipMate or select Refresh from the template menu
The filename (without extension) becomes the template name in the menu.
Compatibility
Templates work with:
- QuickPaste
- PowerPaste
- Exploding PowerPaste
Templates only apply to plain text clips. Complex formats like HTML, RTF, and Bitmap are not processed through templates.